Leonteq |
Citrix Client
Installation Guide
Version:
0.1
Contents
Citrix Receiver Configuration |
Windows PC
Citrix Receiver Configuration | MAC
OS
Citrix Receiver Configuration |
iPad & iPhone
Citrix Receiver Configuration |
Android
How to launch Desktop or
Application in your Browser | Receiver Light Version
Introduction
In case of access problems, this document will guide
you through the required installation steps in order to
access your Virtual Desktop and some Applications, from the internet, via the
Leonteq Citrix infrastructure using a Windows PC, MAC OS, iPhone & iPad,
and Android device.
Citrix
Receiver Configuration | Windows PC
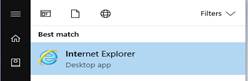
Step 1
Open Internet
Explorer (not Chrome, Edge or Firefox)
Step 2
Add URL https://login.leonteq.com
and enter your Leonteq Username
and Password and click Log On

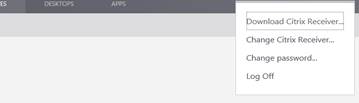
Step 3
Once logged in, go to your username in the top
right-hand corner and select Download
Citrix Receiver …
Step 4
Tick the Citrix license agreement box and click Download

Step 5
Click Run
to begin the install of the latest CitrixReceiver.exe client
![]()
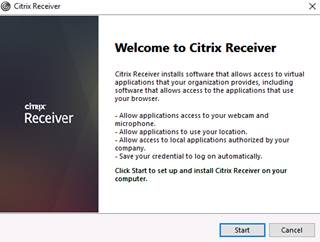
Step 6
Click Start
at the Citrix Receiver Setup window
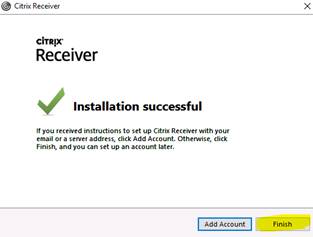
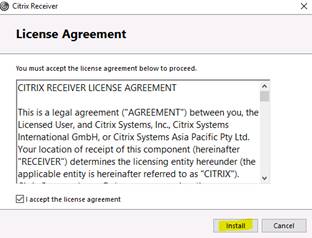
Step 7
Tick
the license agreement box and click Install
and once complete click Finish
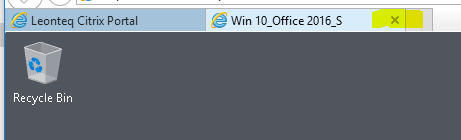
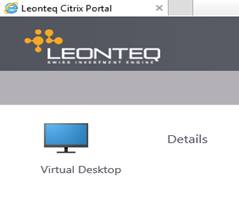
Step 8
Once the Citrix Receiver client successfully installs
the browser should automatically display a list of your desktops or
applications. Click on either to start.
Citrix Receiver Configuration | MAC
OS
To follow …
Citrix
Receiver Configuration | iPad & iPhone
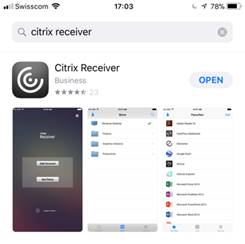
Step 1
Launch the Apple App Store and search for an
application called Citrix Receiver. Download and install this application to your
iPhone/iPad device
Step 2
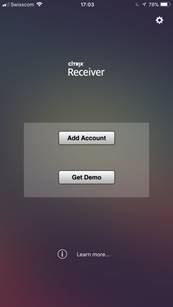
Once
installed double click the Citrix
Receiver icon and click on Add
Account
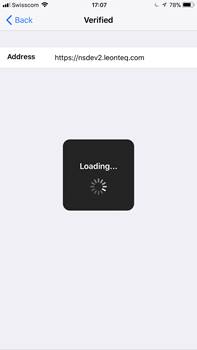
Step 3
Type in
Address URL https://login.leonteq.com
and click Next
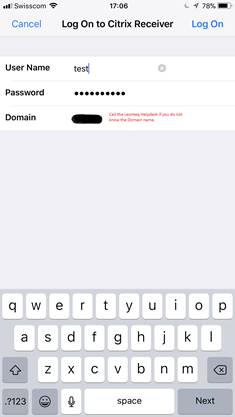
Step 4
Type in
your Leonteq Username,
Password and Domain and click Log On
Note. Call the Leonteq
Helpdesk if you do not know the Domain name.
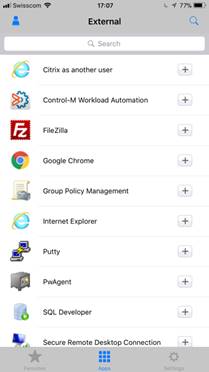
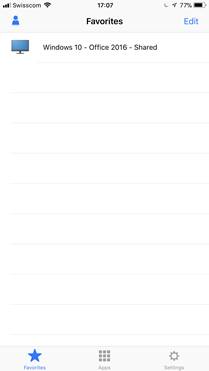
Step 5
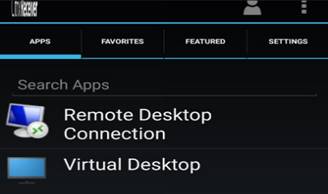
You should
now see a list of your desktops or applications; click the plus sign on the right of the icon and this will add to your
favourites.
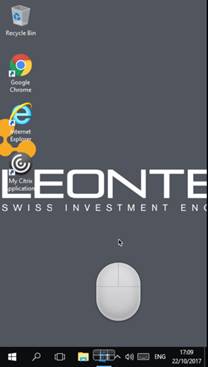
Step 6
Click the
desktop/application icon you would like to use and it
will launch ready for use; you can start experimenting with the different
configuration options available within the Citrix Receiver client, which will help
to improve your user experience.

Note. The
Citrix Receiver configurable settings such as that for display options may
differ slightly on an iPad and iPhone.
Citrix Receiver Configuration |
Android
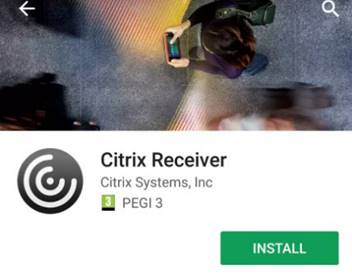
Step 1
Go to the Play
Store and search for the Citrix
Receiver application. Choose Install.

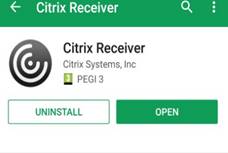
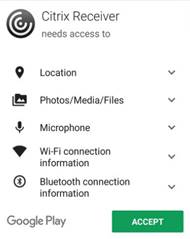
Step 2
If prompted, accept the “needs access to” and then open
the Citrix Receiver application.
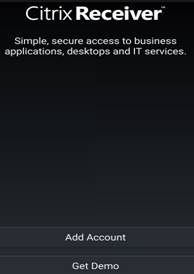
Step 3
Choose Add
Account.
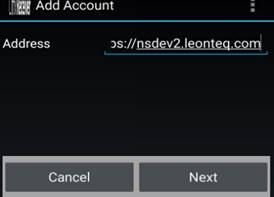
Step 4
Enter URL: https://login.leonteq.com
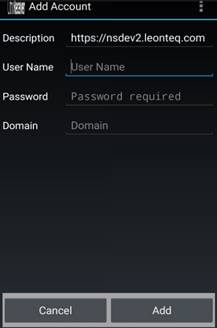
Step 5
Enter your company User Name, Password and Domain
Name and click Add.
At this point you should add the account, enter your
password and complete the 2nd factor of authentication.
Note. If you do not know the Domain, please contact
the Leonteq Help Desk.
Step 6
Now you should see your Virtual Desktop or
application. Click the required icon to
launch.
How
to launch Desktop or Application in your Browser | Receiver Light Version
For quick
and easy access to your VDI desktop or published applications, you can now
launch in your browser in a separate tab.
This access is also available if you experience problems with your
Citrix Receiver application.
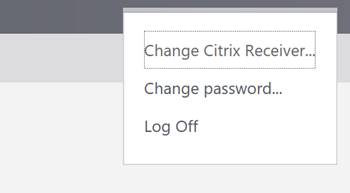
Step 1
Once
successfully authenticated, click the down arrow at the top right of the page
where your username is displayed. Choose
Change Citrix Receiver …
Step 2
Next choose
Use light version

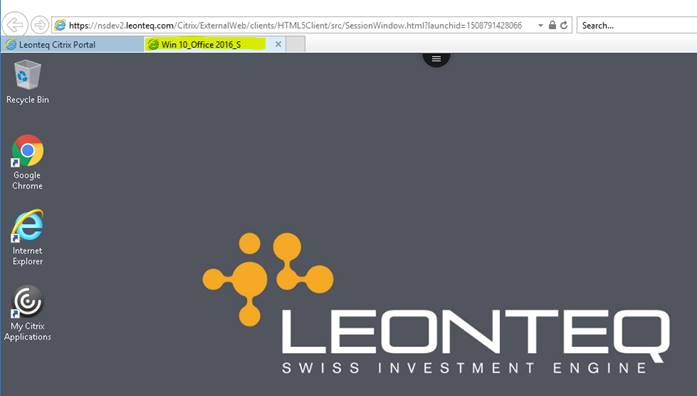
Step 3
Launch your
VDI desktop or published application and it will launch as a tab in your
browser
Step 4
Switch back
to the default Citrix Receiver by clicking the X on the browser tab then follow the same procedure above but
choose Use full version